Showing posts with label Christmas. Show all posts

Thursday, December 18, 2014

Leaky Shed Studio and BoBunny Team Up: more Naughty or Nice? list books, plus a Santa ornament

Leaky Shed Studio and BoBunny are teaming up the entire month of December to bring Holiday Inspiration to your home.
Today I have a few more Naughty Or Nice? list books to share with you, plus a Santa ornament--if you missed the little books last time, and would like more information, here is the link.
The Leaky Shed Studio 6x6 bracket album covers are cut in half, and covered with Bo Bunny Candy Cane Lane papers.  Add some Bo Bunny Gold Glitter Paste and Christmas trims, and you have some quick and pretty little pressies!
LSS Snowflakes and Bo Bunny Christmas flowers with Gold Glitter Paste
Ready for Santa?
more Candy Cane Lane with Gold Glitter Paste!
I added some Christmas trims and those adorable Leaky Shed Studio Christmas Lights (6 pack!) for this ornament. 

Check back with us all month for more inspirational Holiday projects! We have a BoBunny Prize Pack to give away to one of our lucky commenters, so check out our blog and FB postings.
If you are on Pinterest, check out the special Pinterest Board that we have created for this swap! Re-pin some of your favorite projects for an extra chance to win our BoBunny Prize Pack.

All right then, off you go, get ready for Christmas!


Friday, December 5, 2014

Leaky Shed Studio / BoBunny PRODUCT SWAP!


We Have Exciting News!


Leaky Shed Studio and BoBunny are teaming up for the month of December to bring Holiday Inspiration to your home.  We here at Leaky Shed Studio love BoBunny and their product is amazing, we are so thrilled to be partnering with such a wonderful company.

Starting December 9th through the 31st both design teams will be creating unique projects with Leaky Shed Studio chipboard and BoBunny Christmas collections.  After you check out the projects from our very own Leaky Shed Studio talented design team; head on over to the BoBunny blog to see what those gifted ladies have created for you. Join us in some Holiday cheer and comment on both blogs and let the BoBunny designers know we sent you

To celebrate our Leaky Shed Studio/BoBunny Swap, we're giving away this fabulous prize package filled with gorgeous BoBunny products.


To be eligible to win you need to do the following: 
Leave a comment on each Leaky Shed Studio Facebook Page Post during the swap, starting December 9th to 31st. You have until midnight EST on January 3rd to leave your comments. 

The randomly selected winner will be announced on January 5th, 2015.  Be sure to check out our links for more inspiration from our talented team.


If you are on Pinterest, check out the special Pinterest Board that we have created for this swap!  Re-pin some of your favorite projects and show us some love.
Happy Holidays and check back with us throughout the month and don’t forget to leave us a comment for your chance to win the BoBunny Prize Pack.  BoBunny is also giving away a Leaky Shed Studio Prize Pack so go check out BoBunny and leave a comment on their FB page also.


Friday, December 13, 2013

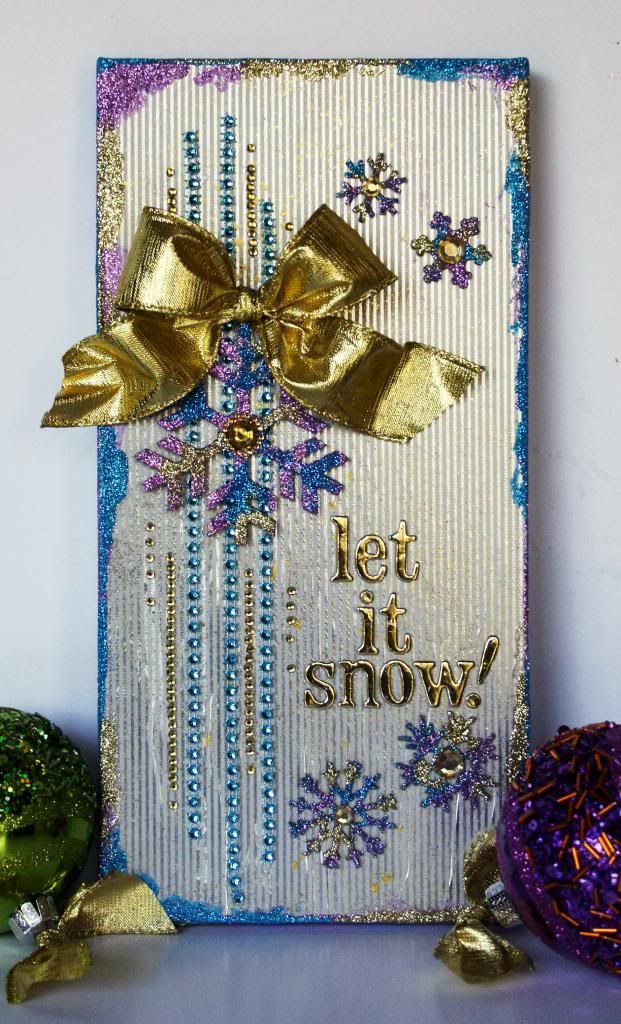
Let It Snow Canvas

Hi everyone!  It's Robbie today with a little canvas that I made using some of the new Winter release chipboard pieces.

Let It Snow

I have been into purple and blue lately because my daughter's apartment is decorated primarily in purple, blue and gold.  I love these non traditional colors for Christmas projects and especially for winter projects.


The background of this 6x12" canvas is covered with a  piece of wrapping paper.  I just used Mod Podge to adhere it, then gave it a light mist of Color Shine.  The paper is silver and white, but I knew that I wanted to add gold as the primary metallic color.

I really love the idea of using wrapping paper for things that will sit out during the holidays.  In my case, I only buy what I love and what co-ordinates with my decor.

Tip:  Ok... weird tip for today!  If you want AWESOME wrapping paper, try TJ Maxx, Marshalls or Home Goods.  They are all owned by the same company and they have the BEST foil papers!!   They are also really inexpensive compared to buying them at other stores.  :)


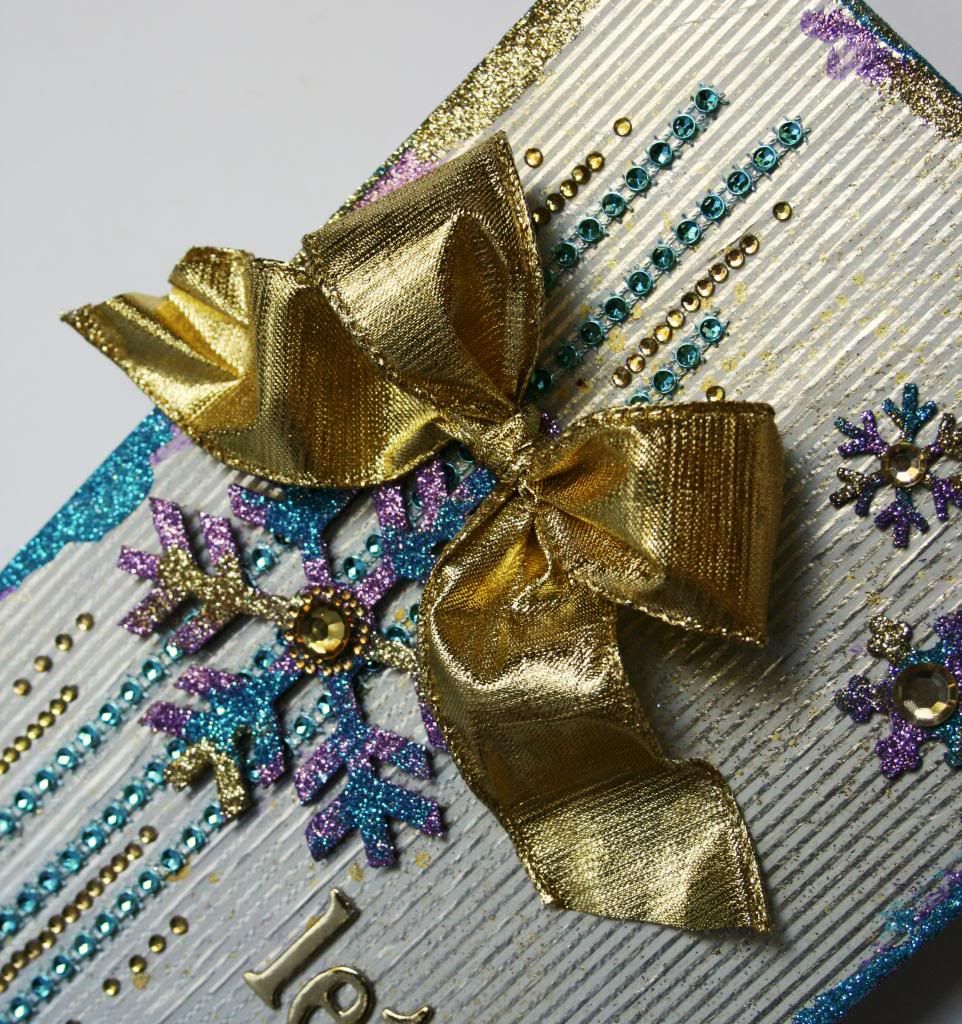
You can see in the close-up that this is a really glittery project!  Be prepared to get covered!  

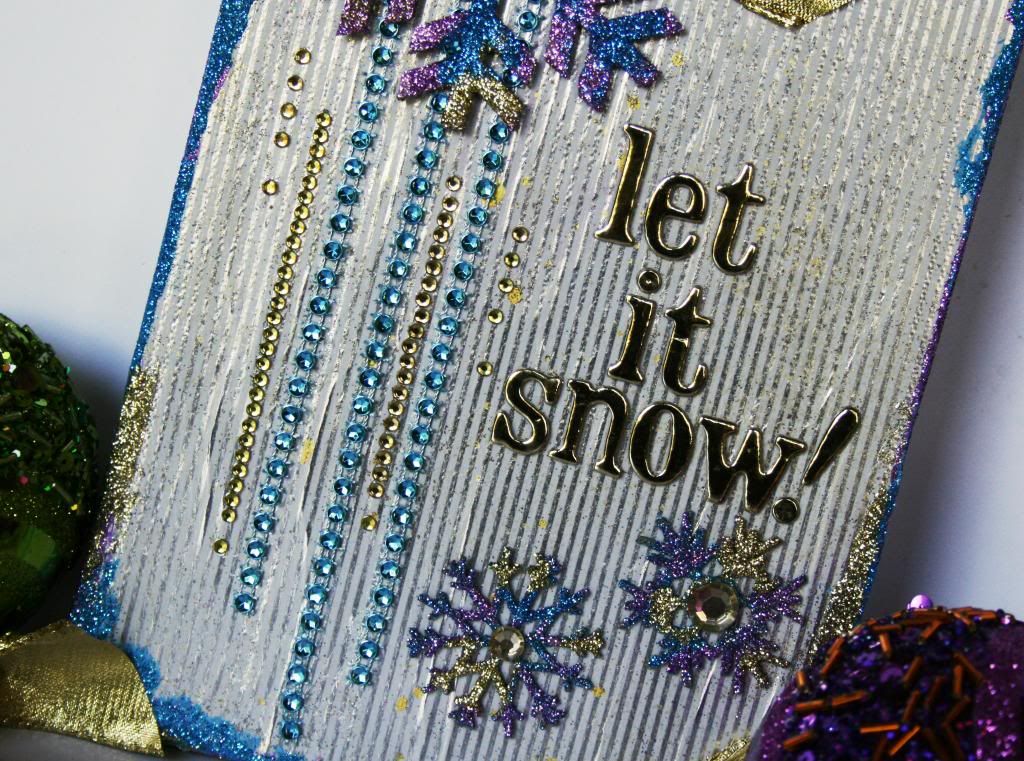
I first put purple glitter on the entire snowflake.  After it was dry, I just took my paint brush and dabbed in a few places with glue and added the blue glitter.  Repeat the same process for the gold glitter.

I also did the edges the same way.  I did use purple paint, but decided that the glue worked better.  


For the bling in the background, I just glued the blue trim down and then added adhesive jewels.   I also added some jewels in the center of the snowflakes.  

Finish the project off with a sentiment and a bow.  Actually a really easy and quick little sign to set out during the winter.  

Tip:  Since I am giving shopping tips for this post, I thought I would let you know that I picked up the trim at Michaels for $1.   They have several colors in the $1.50 spot, but always dig a bit in the dollar ribbon bin.  You never know what you might find.

Of course, while you are shopping make a stop by the Leaky Shed Store!

Supplies Used:
Six Snowflakes 907-42 
Snowflake Ornament

Thanks for stopping by and be sure to check us out on Facebook and share your creations! 


Monday, November 25, 2013

Noel Christmas Banner

Christmas is coming and for many of us decorating for the holidays will begin soon, if it hasn't already. I am planning to start my decorating right after Thanksgiving and I wanted to get a jump start by creating a Noel Christmas Banner to hang on our media cabinet for our family Christmas dinner. I think it would also look great hanging on a mantel or even on the wall. The banner I created was easy to put together with some fabulous Leaky Shed Studio chipboard, ribbon, patterned paper and glitter glue.


Let's take a closer look at how I created my banner:
  1. Begin with 6 of the Pennant Banners as your base.
  2. Cover each banner piece with Christmas themed patterned paper. 
  3. String the banner pieces to together by tying each piece to the next piece using a 16" length of red ribbon. Once the ribbon is threaded through the neighboring banner pieces, tie the ribbon in a bow.
  4. Spell the word "Noel" using the Large Type 4" Alphabet and cover each letter with gold glitter.
  5. Create the white outline by adhering each chipboard letter to white cardstock and trim around it with scissors.
  6. Attach letters to banner base.
  7. Embellish with paper holly leaves and jewels.


Some options for creating the holly leaves would be to cut them by hand, use a metal die or use an electronic cutting machine.  I cut mine using a digital cutting file that I created and cut with my Silhouette Cameo. If you are interested in this cutting file, it will be available to download for FREE on my blog tomorrow along with a more detailed supply list. 


Leaky Shed Studio Supplies:

I hope this inspired you to make some of your own Christmas decorations using Leaky Shed Studio Chipboard. We can't wait to see what you create and share with us oh the Leaky Shed Facebook page.

HUGS!
Juliana