Showing posts with label Snowflakes. Show all posts

Tuesday, November 25, 2014

Snowflakes and Cards with Veronica


Hi, Veronica here today to share with you a set of simple to make Christmas cards!  Leaky Shed Studio has some new reveals and one of them is this beautiful Large Snow Flake Border.


Snowflake Border Lg  sk:740-1

Step Out Instructions and Photos:

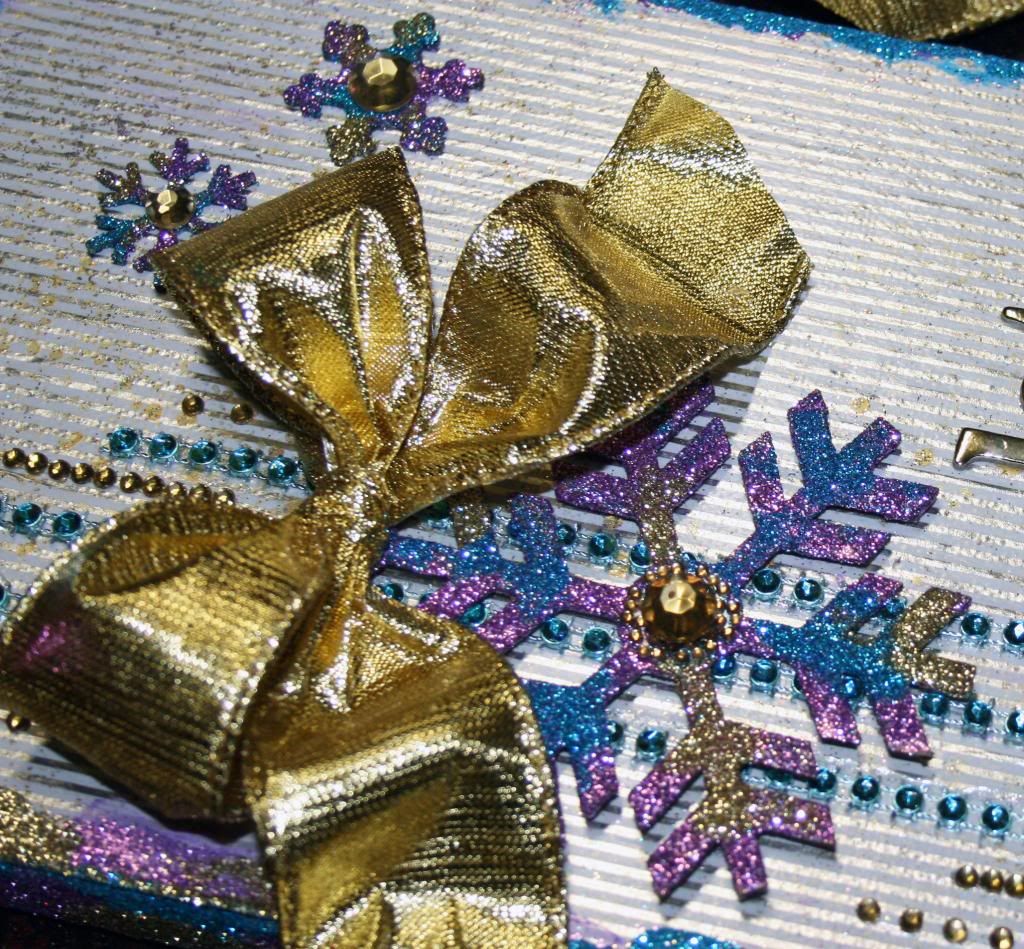
1. First I cut my border apart so that I would have my single snowflakes.  Then I painted them with Chalk Paint.


2.  Second, I layered the new Bobunny Glitter paste (gold) on my snowflakes


3.  Then I finished off my snowflakes with crackle paint from Ranger.


After I dried them all I added a pretty crystal jewel I had in my stash, then I added a dot of crystal dimension paint to give the snowflake more layers and interest.

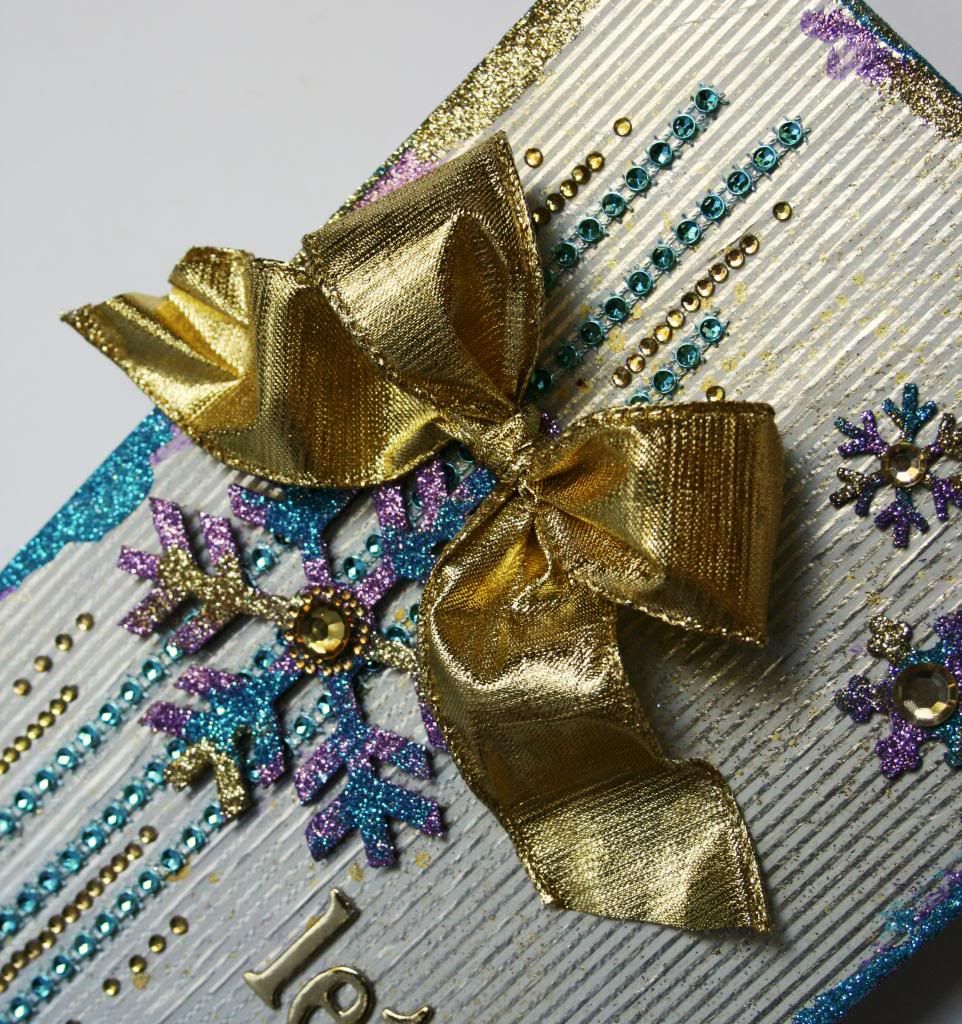
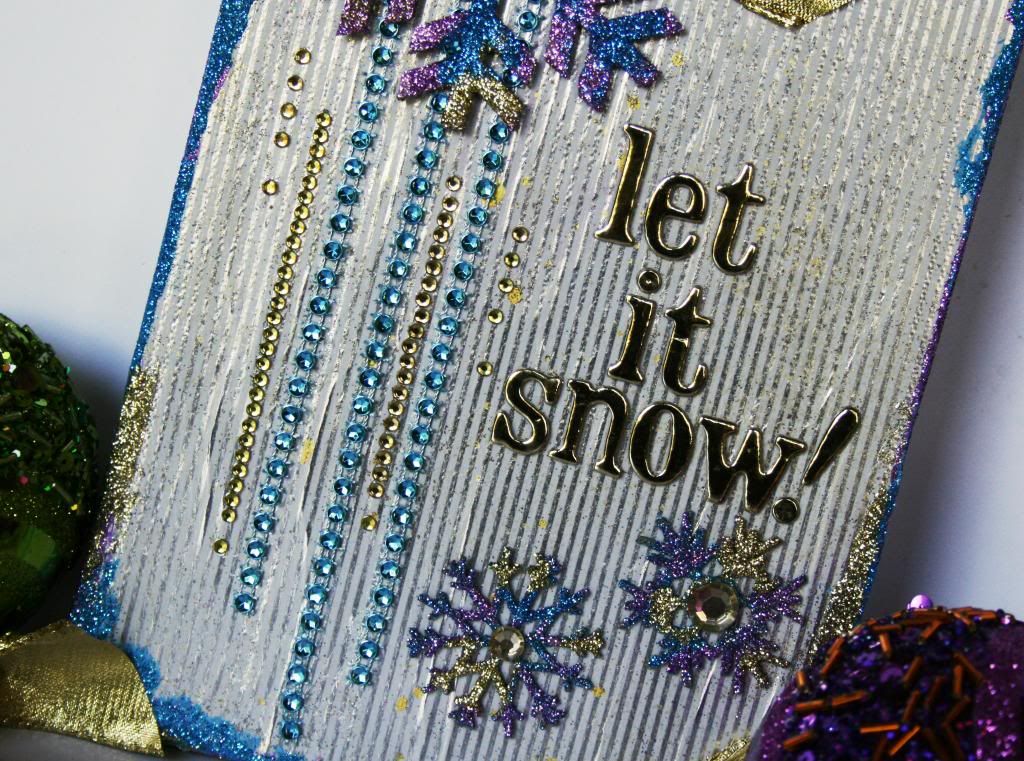
I made my cards (4.25 x 5.5)out of white smooth card stock with my first layer of grey card stock. My third layer was thick vellum snow flake paper I had in my stash.  For embellishments I added ribbon, glittery stickers and a stamped sentiment "Merry Christmas."  


Since all the cards are the same I was able to make them quickly because I did everything in stages. You can see that the Leaky Shed Studio Snow Flake really stands out on the cards and brings the dazzle.


Thank you for stopping by and happy scrapping.  


Leaky Shed Product Used:


Thursday, December 19, 2013

Happy Holidays!

If you haven't had a chance to play with the new Leaky Shed Studio ornaments and snowflakes, you're missing out. They are so much fun. Today I used the Teardrop Frame ornament along with one of the small snowflakes to make a card just for you!

Just like Debbie said on Tuesday, I enjoy hand-making my Christmas Cards as well.  
So.... I made this one for all of you.

Whatever you might be celebrating this holiday season, I hope you and yours enjoy each other and all the fun memories that are made this time of year!

(I left the card open so you could see how the snowflake would twirl if you could touch it.)

I used acrylic paints and glitter glue to paint my chipboard.  
I cut the center out of my card and attached the snowflake with a small string of nylon string so it would twirl when the card was opened.

Enjoy the season!  ♥Kris

Supplies used:
Teardrop Frame Ornament
Six Snowflakes
EP Tis the Season Collection

Friday, December 13, 2013

Let It Snow Canvas

Hi everyone!  It's Robbie today with a little canvas that I made using some of the new Winter release chipboard pieces.

Let It Snow

I have been into purple and blue lately because my daughter's apartment is decorated primarily in purple, blue and gold.  I love these non traditional colors for Christmas projects and especially for winter projects.


The background of this 6x12" canvas is covered with a  piece of wrapping paper.  I just used Mod Podge to adhere it, then gave it a light mist of Color Shine.  The paper is silver and white, but I knew that I wanted to add gold as the primary metallic color.

I really love the idea of using wrapping paper for things that will sit out during the holidays.  In my case, I only buy what I love and what co-ordinates with my decor.

Tip:  Ok... weird tip for today!  If you want AWESOME wrapping paper, try TJ Maxx, Marshalls or Home Goods.  They are all owned by the same company and they have the BEST foil papers!!   They are also really inexpensive compared to buying them at other stores.  :)


You can see in the close-up that this is a really glittery project!  Be prepared to get covered!  

I first put purple glitter on the entire snowflake.  After it was dry, I just took my paint brush and dabbed in a few places with glue and added the blue glitter.  Repeat the same process for the gold glitter.

I also did the edges the same way.  I did use purple paint, but decided that the glue worked better.  


For the bling in the background, I just glued the blue trim down and then added adhesive jewels.   I also added some jewels in the center of the snowflakes.  

Finish the project off with a sentiment and a bow.  Actually a really easy and quick little sign to set out during the winter.  

Tip:  Since I am giving shopping tips for this post, I thought I would let you know that I picked up the trim at Michaels for $1.   They have several colors in the $1.50 spot, but always dig a bit in the dollar ribbon bin.  You never know what you might find.

Of course, while you are shopping make a stop by the Leaky Shed Store!

Supplies Used:
Six Snowflakes 907-42 
Snowflake Ornament

Thanks for stopping by and be sure to check us out on Facebook and share your creations! 


Tuesday, December 10, 2013

Hanging Christmas lights...

Hi friends it's Kris today,
One of my favorite things about Christmas is the lights.
They are just magical!  I love outside lights, inside lights, candle lights & lamp posts.
They add that romantic feel that makes Christmas special.

Today I want to share some fun chipboard pieces on day 1
of my December Daily album.  (I know, we're on day 10... ssshhhh)
I just love this Leaky Shed Christmas Tree and had to share it with you.

 For the tree.... 
~I left most of it the bare chipboard and then randomly painted
it with brown acrylic paint.  Then I globed on white gesso to make it look
like lumps of snow on the tree.  Then of course some green bling to represent
the shiny lights. 
I also used white acrylic paint and stickles on these cute Leaky Shed Snowflakes.
I covered my Leaky Shed 'H' with a green dot from the 
Countdown to Christmas collection from Bazzill Basics.
For the darling Leaky Shed Crown, I used black acrylic paint and a little glitter & bling.

I love the character and dimension that chipboard adds to my projects.

Supplies used:
LSS Snowflakes
LSS Fancy Cap H
LSS Crown Set

Monday, December 9, 2013

"A Snowy Day" with enameled chipboard snowflakes

Hello everyone. It's Tracey here to share a winter layout featuring gorgeous Leaky Shed chipboard on this layout of our daughter sledding when she was a little girl.

A Snowy Day

Tips and Techniques
Here you can see the French Curve Scroll which I cut in half to use as a flourish. Don't be afraid to cut your chipboard pieces to get different looks. Flowers and other elements were dry brushed with gesso to lighten and give a snowy feel. 

I wanted the snowflakes to have a shabby look, so sprinkled embossing powder with a light hand so some of the natural chipboard would show through. These snowflakes worked absolutely perfectly with the flakes on this Winter Wonderland BoBunny paper. 

I used the smallest snowflake on the corner of my photo and centered with a clear rhinestone. The tiny snowflake on the tag and around the page are wood veneer pieces. 

One of my favorite LSS chipboard pieces is this ornate corner with it's intricate design. Stampendous Fran-tage embossing enamel is such a great product that makes dressing up chipboard so very easy. I simply pressed the chipboard into a Perfect Medium pad (Any clear embossing pad would work.), then sprinkled on Shabby White embossing enamel and heat set. This embossing enamel has several different colors and sizes of enamel and even some fine gold glitter, perfect for this wintry page. 

One final snowflake. Look at the wonderful cut detail on this piece! 

Leaky Shed Studio Chipboard
Snowflakes (Set of 6 different flakes)
Ornate Corner
French Curve Scroll

I invite you to stop by my blog, Garden of Grace, tomorrow for a list of
other supplies used to create this layout.

Thanks for stopping by and be sure to come back tomorrow 
to be inspired by a project designed by Kris Sylvester. 

~ Blessings ~