Showing posts with label Flower Corner. Show all posts

Thursday, October 16, 2014

Girlie Grunge Birthday Card by Tracey Sabella

Hi everyone. It's Tracey here to share a girlie grunge birthday card featuring Leaky Shed Studio chipboard. Maria's favorite color is purple, but she's not a girlie girl, so I had fun including grunged up gears from the Watch Parts collection.

Birthday Card

Tips and Techniques
These Watch Parts are painted black, then dry brushed with metallic berry paint. I also used a small Watch Part in the center of my focal flower.

Here's another view. I mixed plum and gold Glimmer Mist to brush over the flowers to add some shimmer.

This is half of a Flower Corner. I started by brushing the flourish with clear gesso and flowers with white gesso. I then layered on different colors of mist. Mist is a form of water color and will reactivate when rewetted, so to keep the colors clear, I misted with Helmar Clear Kote Matte Varnish between layers.

I colored this sweet Spring Dragonfly with Perfect Pearls, then added Sugar Shimmer Twinkle Dust Glitter to the wings. 

The background was misted in plum then splattered with grey and black. Again, I misted with clear varnish between colors.

LSS Products
Flower Corner
Spring Dragonfly (3 in package – smallest used)

A full product list can be found on my blog, Garden of Grace.

Thanks for stopping by today!

Friday, January 17, 2014

Birthday Card Featuring Painted Chipbard

Hi, it's Tracey, back to share a card I've created featuring gorgeous Leaky Shed Studio chipboard.

Birthdays are special days to celebrate, and I enjoy creating handcrafted cards for my family for their special days.

Birthday Wishes

Tips and Techniques
I took the one of the small butterflies and soaked it in warm water until it was soft and wet through. Then I pulled each of the wings apart into three layers, leaving the body and antennae intact. I curled up and shaped the layers with my fingers and heat set. I painted with gold metallic paint, then dry brushed with metallic blue paint. 

The Blowing Leaves Frame was painted using a fine tip paintbrush. One of the things I like to do is to swirl two or three similar colors of paint together, but not mix thoroughly. Then, when I paint, I get variations in the colors.

Here's another angle of the butterfly corner.

I stamped the sentiment onto a flag shape I had cut and inked, then added a resin piece and flower to the base.

I cut a Flower Corner into two pieces to layer under the sentiment. I treated it with a quick coat of metallic paint.

I've used another chipboard piece to frame my sentiment inside the card, the medium Victorian Oval Frame. I folded and tucked a piece of ombre organza ribbon on each side. I've painted this frame with more of the gold metallic paint. 

Here's the card at another angle. Behind the sentiment, I have misted then over the mist, stenciled a crackle design. Each of the layers is inked and distressed. To add more texture, I glued a piece of cream mesh ribbon to the back of my sentiment piece, then unraveled it so the fibers would flow across the end of the card,

Leaky Shed Studio Products
Blowing Leaves Frame
Spring Butterfly Small (Set of 3)
Flower Corner
Victorian Oval Frame (Set of 3 - medium frame used)

A full listing of products used will be available
on my blog, Garden of Grace, on Saturday.

I hope you've been inspired to grab some Leaky Shed chipboard and created a card for a special person in your life!

~ Blessings ~

Monday, December 16, 2013

An altered cigar box, flower corner, and Julie Nuttig doll

Hi there, Maggi here to share with you my most favorite project of late, an altered cigar box.  I have to thank my good friend, Jen aka jrabs for giving me this fabulous wooden cigar box.  The moment I saw it I knew it would be altered with something from Graphic 45!!  Well when Couture came out, I literally swooned, it was the perfect collection to use for altering my box!

I used two Leaky Shed chippies on the box.  The cover has a small flower corner chippy  that I've embossed with Stampendous Aged Black embossing enamel.  It fits perfectly on lid of my box.


 Top/side view

Top

Leaky Shed small flower corner embossed with Stampendous aged black embossing enamel.


Inside view.

What could be more perfect with the Courture collection than a Leaky Shed 4" Julie Nuttig doll,  Spooky.  Her dress is done with Stampendous marcasite embossing powder.  I love the sparkly effect it gives.

These dolls are just so cool and work with so many things, tags, layouts, cards and altered items!!


Supplies:


Graphic 45 Couture collection
Petaloo Mixed Textured Blossoms
Idea-ology knob
Webster's Cameo

More closeups and details about how I made the box will be up on my blog tomorrow.  I hope you'll stop by!


Wednesday, December 4, 2013

Leaky Shed corner chippies!

Maggi here to share another layout with you using Leaky Shed corner chipboards pieces around my photo.  On this layout I diecut a sizzix frame for the photo and then use two Leaky Shed corner pieces to frame the frame.  I love the way the corner pieces just pull your eye right in to the photo and journaling.  I used Stampendous aged gold embossing enamel on the chippies and the frame to make them really stand out!


Supplies


Marion Smith Designs Nirvana
Stampendous Aged Gold Embossing Enamel
Petaloo Mixed Textured black flowers
Prima Queen Mary Vintage flowers
TCW Tile Texture mask
Prima Mini Flora stencil
Viva Ferro Alt Gold paste

Thanks for stopping by, be sure to see what's up on our blog tomorrow!


Thursday, November 21, 2013

Layout with Inked Chipboard

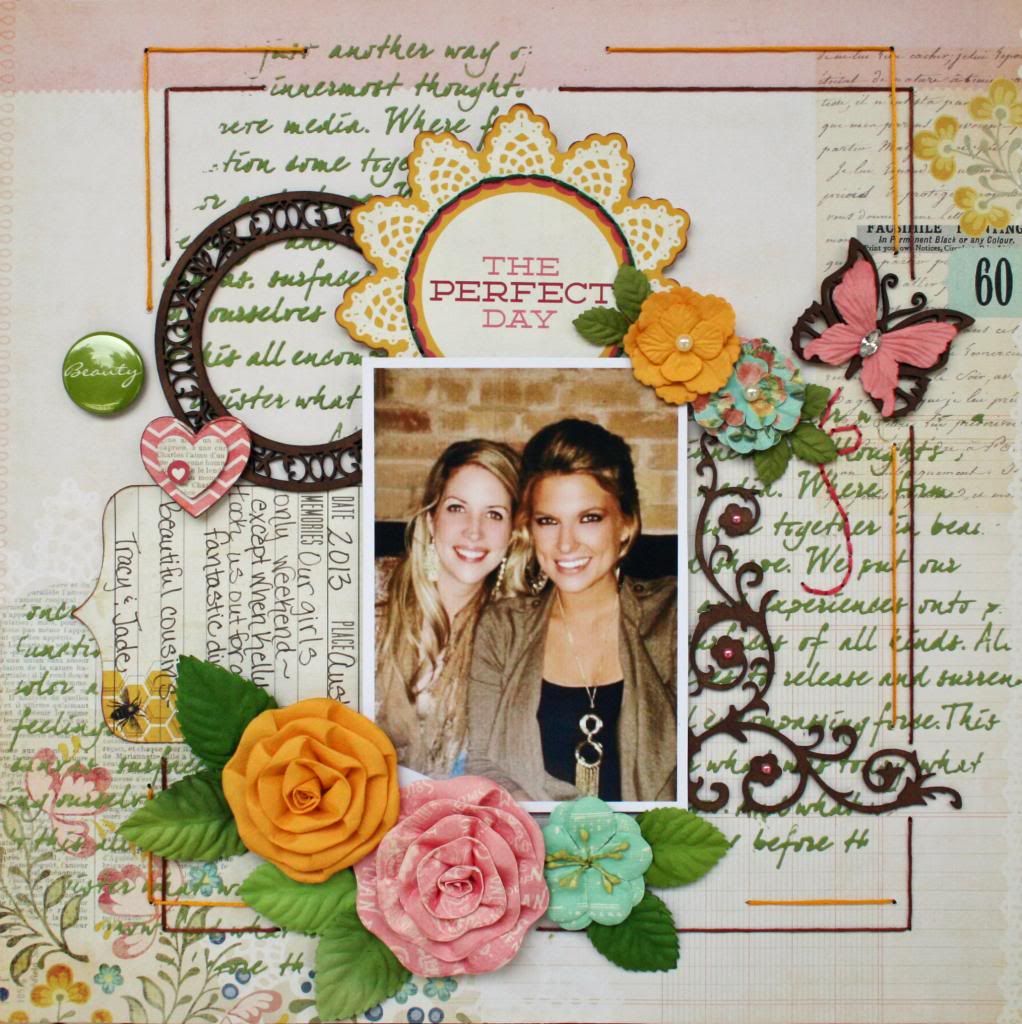
Hi everyone! It's Robbie, today.  I'm sharing a layout that I made using 3 of the Leaky Shed pieces.

This is a picture of my daughter and my niece taken during a girl's only weekend. I took this picture at dinner when we let my husband participate by taking us out for a fancy dinner.  Of all of us, my niece (on the left) deserved to be treated!  She's the sweet mommy of 5!

The Perfect Day


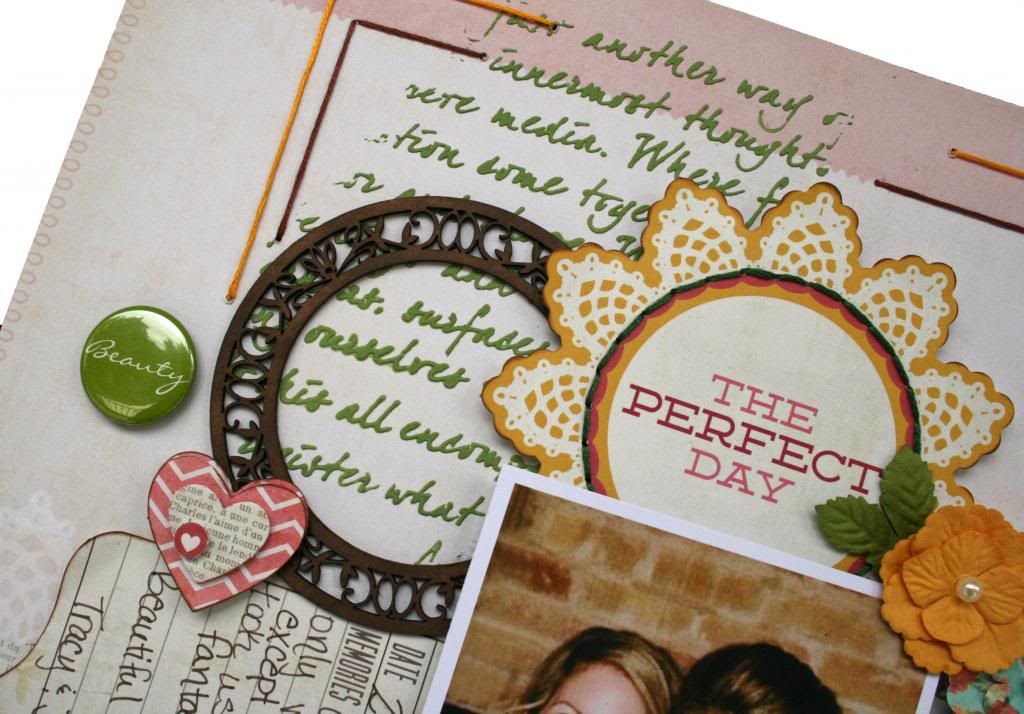
You can see that I used 3 pieces of chipboard.  I kept thinking about techniques to use on them, but finally settled on simply inking them to darken them up a bit.  I love the natural look of the chipboard, as is, but wanted to have them stand out a bit more.


I used Cat's Eye Chestnut Roan chalk ink to add the touch of extra color.


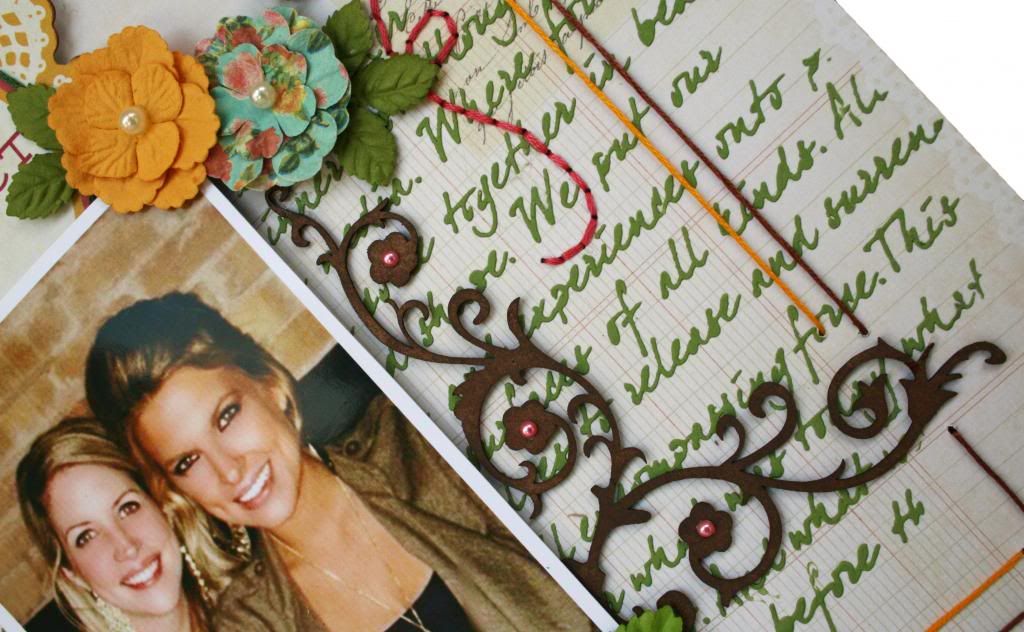
Because I cropped the picture close, the chipboard corner piece made more sense to use a design element to frame the photo instead of being used in the traditional way,  I use a few sticky pearls to embellish it a touch.


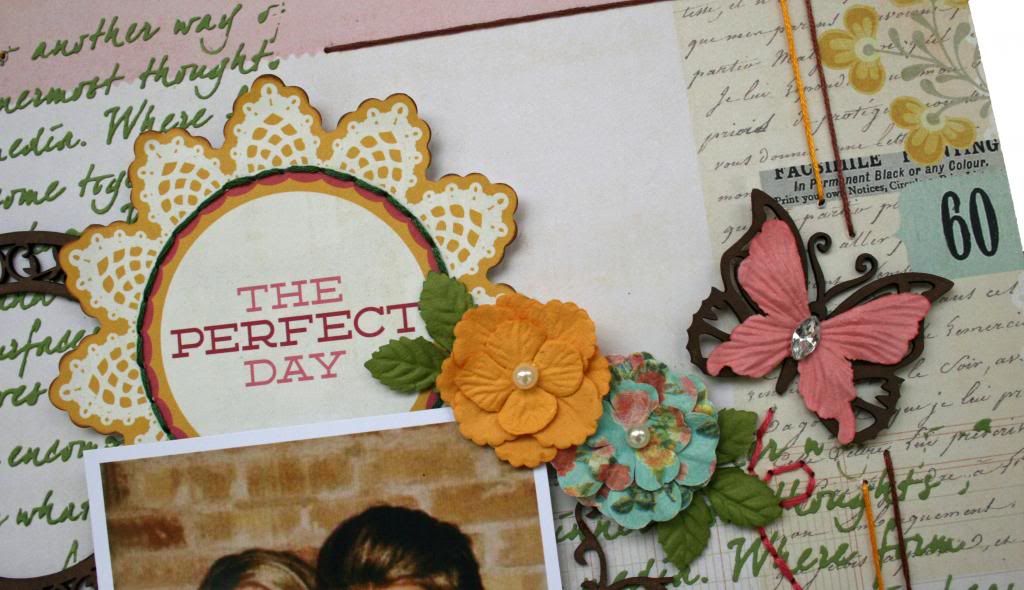
Lastly, I used a paper butterfly layered over the top of the chipboard butterfly.  I liked the way I was able to echo and frame the lighter colored paper butterfly to make it stand out more in the design.

Leaky Shed Studio Products:

Thanks for stopping by to take a look at my project!